Celebration guide
Practising Lines and Dots before Decorating Cookies
Practise pressure, line beginnings and endings, and dot spacing before choosing a simple pattern for the first cookie.
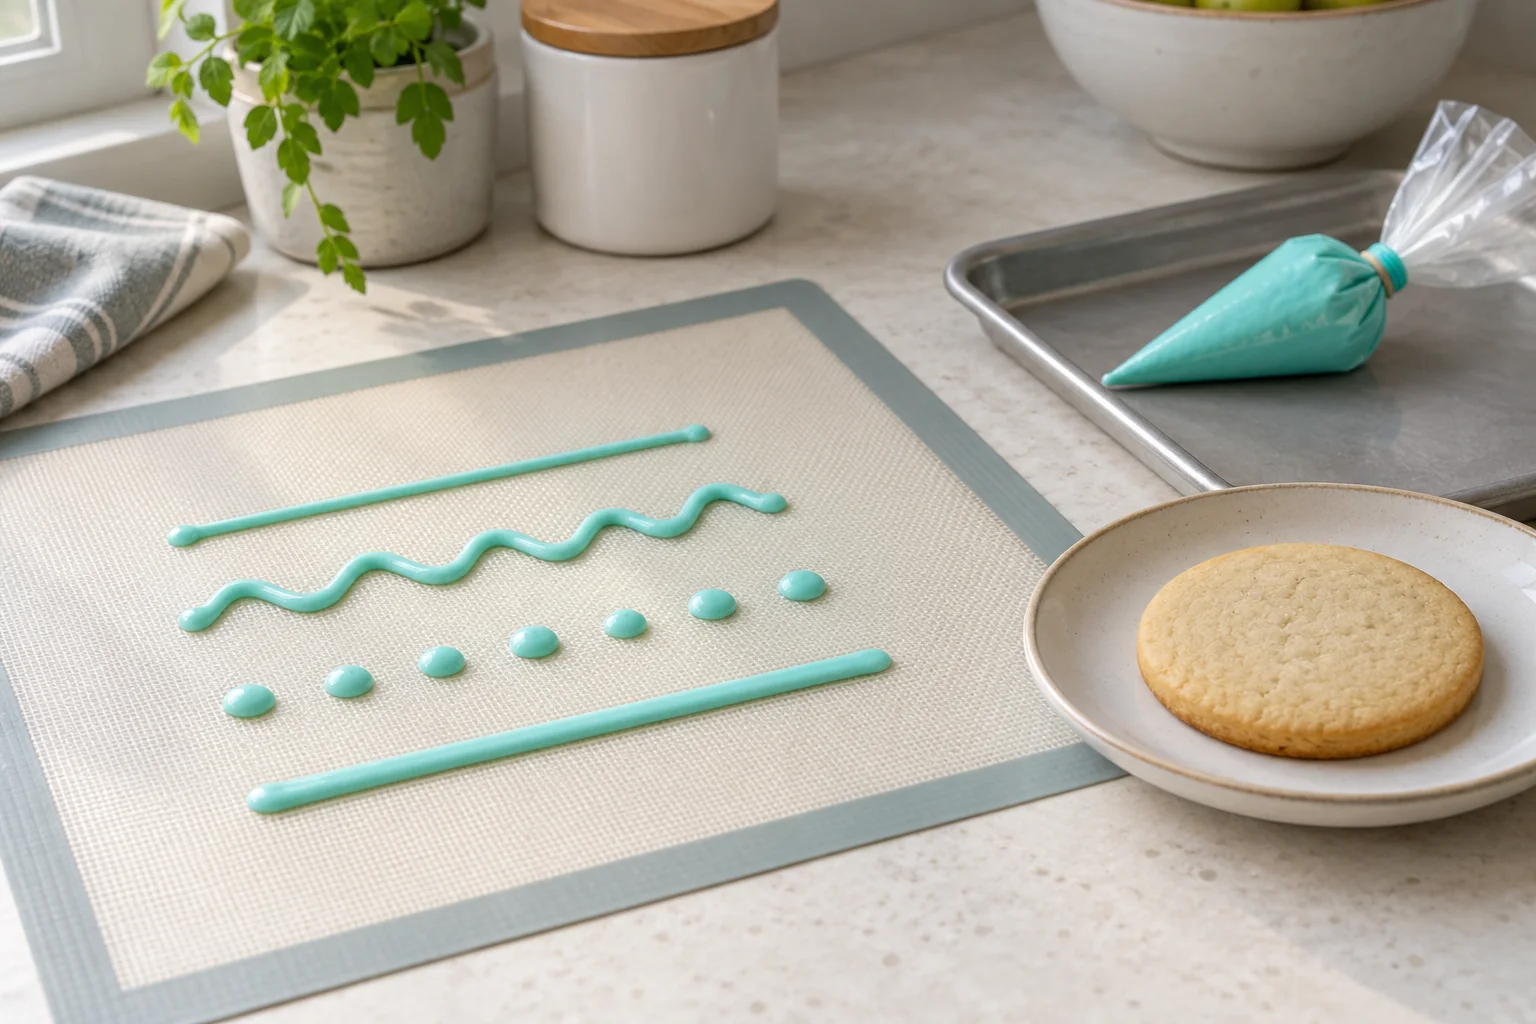
Lines and dots offer many cookie decorating options without beginning with a complicated picture. A short curve can define a pattern, while a few dots add accents. Before moving to a cookie, a small practice exercise helps participants see how the tool and pressure affect their marks.
Prepare tools and materials according to the product instructions. Choose a practice surface suitable for food contact when material will touch it, and keep the working table clean. This exercise concerns controlling marks, rather than icing recipes or changing ingredient composition.
Begin with one tool and one colour
Use a decorating tool suitable for the material and its instructions. One colour is enough initially so attention stays on lines and dots. Introducing many colours immediately can crowd the table and make pressure changes harder to observe.
Check how to close, hold, and use the tool before starting. A supervising adult helps participants who need guidance. Do not modify the tip or use sharp tools simply to make smaller marks. If flow seems unsuitable, follow the product instructions or ask the provider.
Keep unused material in its designated place. Separate the practice area from cookies awaiting decoration so participants can experiment without feeling they must immediately produce a final pattern. This simple space also helps a supervisor identify where support is needed.
Try the marks before moving to a cookie
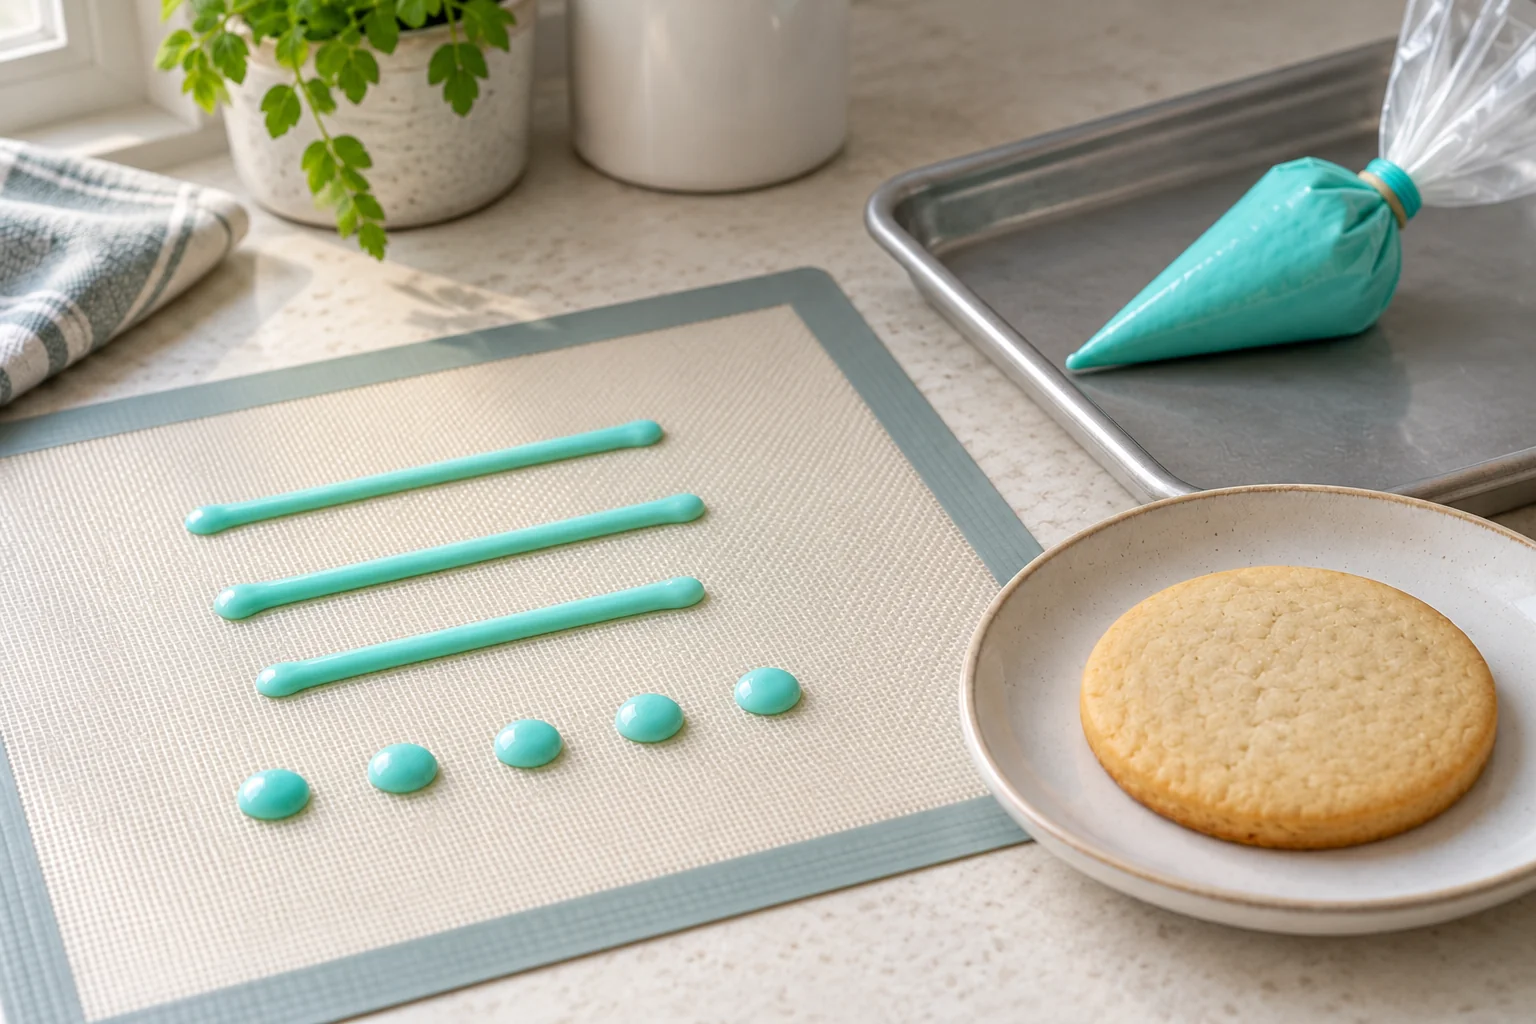
Start with a short line on the suitable surface. Apply light pressure, move slowly, and stop the flow according to the tool’s usage method. Observe whether the beginning is thicker, whether the line breaks, and whether its ending creates an unintended tail.
Make a second trial with one small change. For example, move a little more steadily while keeping the grip unchanged. Avoid changing pressure, speed, and tool position together. A simple comparison helps participants understand the variable being tried.
Continue with dots. Make several with enough space for each to remain visible. Observe size and how the tool is released. Dots merging may indicate spacing too close for that pattern rather than a need to repeat the whole exercise.
Compare the beginning, middle, and end
Follow one line from beginning to end. Ask which part was easiest to control and which differed from the plan. Use simple terms such as thicker, shorter, or closer. Avoid saying good or bad without explaining the visible feature.
For dots, compare sizes and the spaces between them. There is no need to demand identical marks. In a simple pattern, participants can choose reasonably consistent dots and let empty space contribute to the appearance.
| Mark | What to observe |
|---|---|
| Short line | Thickness and any interruptions |
| Curved line | Movement direction and the space it defines |
| Separate dots | Size and how pressure ends |
| Dot sequence | Spacing and its relationship to a line |
Choose one feature to improve in the next trial. Too many instructions at once can obscure the small purpose of the practice.
Choose one pattern for the first cookie
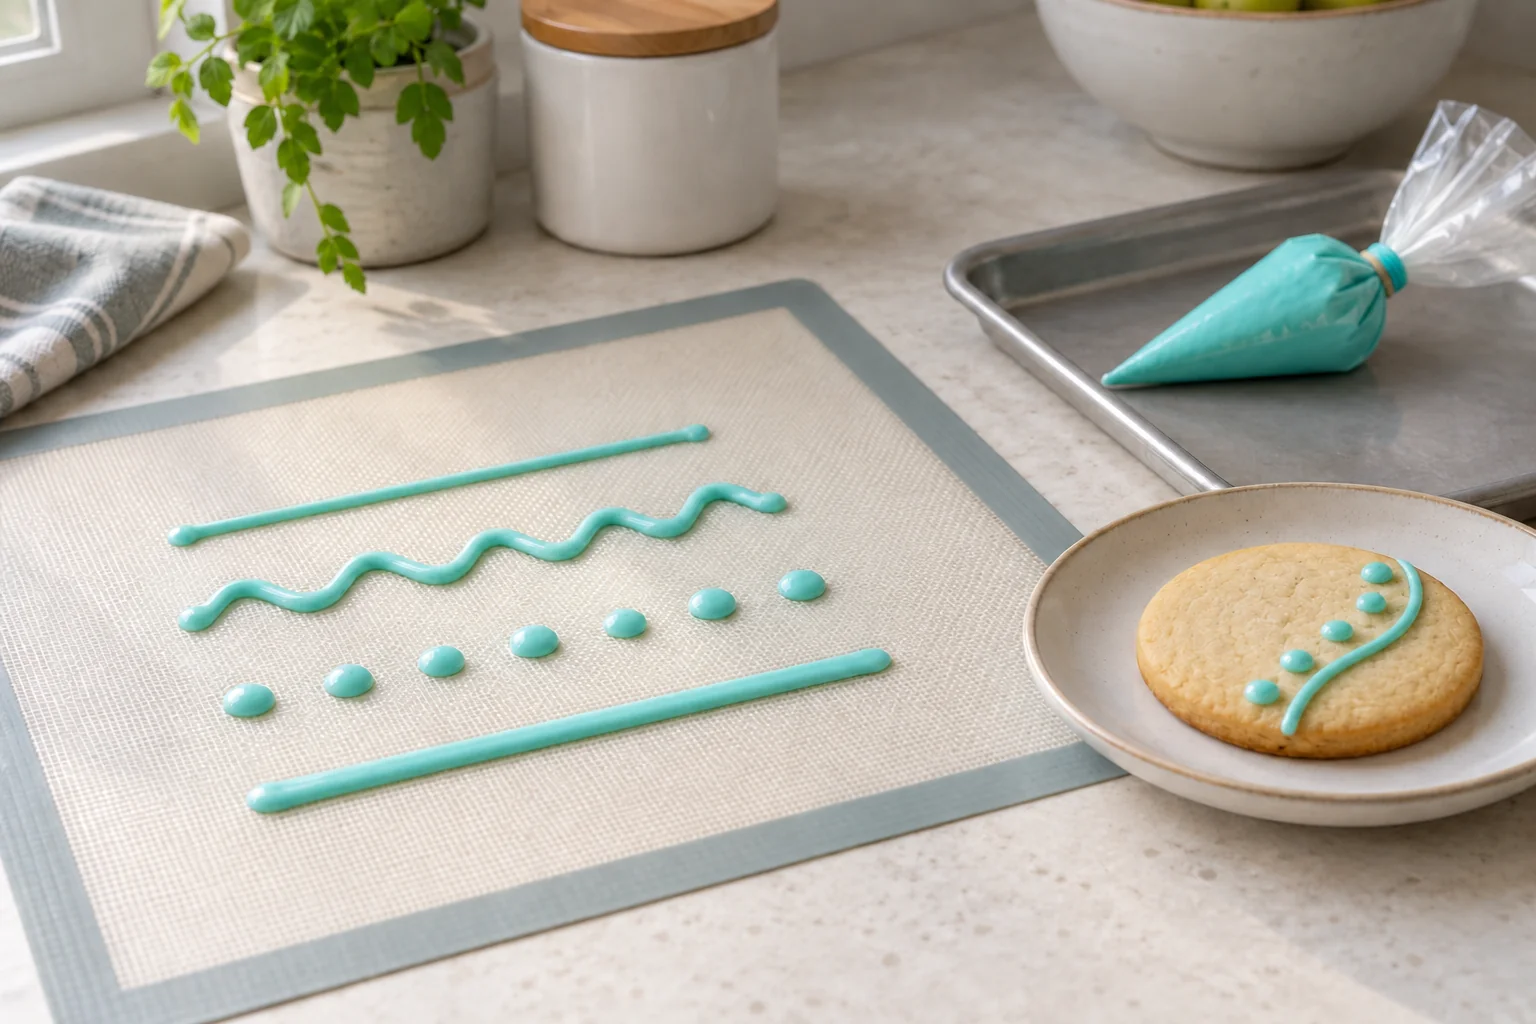
Decide on a pattern before placing material on the cookie. One curved line with a few dots beside it is an example. Look at the cookie shape and leave an area empty. A pattern does not need to cover the whole surface for line and dot choices to be visible.
Begin with the main element, then add a limited number of accents. If the curve differs from the plan, consider whether a simple decision allows the pattern to continue. Avoid adding details endlessly to conceal one imperfect line.
Use materials and handling confirmed for the participants and activity. Ingredient information, storage, and special requirements follow the product and appropriate confirmation. Colour or appearance cannot establish ingredient content.
Give supervisors helpful questions
A supervisor can ask which part someone wants to try again instead of immediately taking over the tool. Ask participants to identify a difference between practice and the cookie. The conversation then concerns observable decisions.
If someone is tired or does not want to continue, a short pattern can be a complete activity result. There is no need to finish a particular number of cookies because an example shows several shapes. Plan duration around participants and the event.
For an overview from the beginning, read the DIY cookie activity guide. Line-and-dot practice can be a small stage before the main decorating activity, with suitable materials and supervision.
Prepare requirements before selecting a kit
When asking through Sweetalicious, explain participants’ ages, the activity format, and the tools you want to use. Confirm product contents, available options, and handling instructions. Do not assume every kit includes identical colours or decorating tips.
To keep the activity’s results, the DIY cookie photography guide helps plan documentation. Photographs of practice marks and the first cookie can show decisions without comparing different people’s abilities.
Brief practice gives participants time to understand a tool before decorating. Limiting the trial to lines, dots, and one pattern makes the activity easier to follow while leaving room for individual choices.