Celebration guide
Photographing DIY Cookie Results to Keep an Event's Story Organized
Prepare a simple photo corner, record creations by group and organize filenames to preserve the results of a DIY cookie activity.
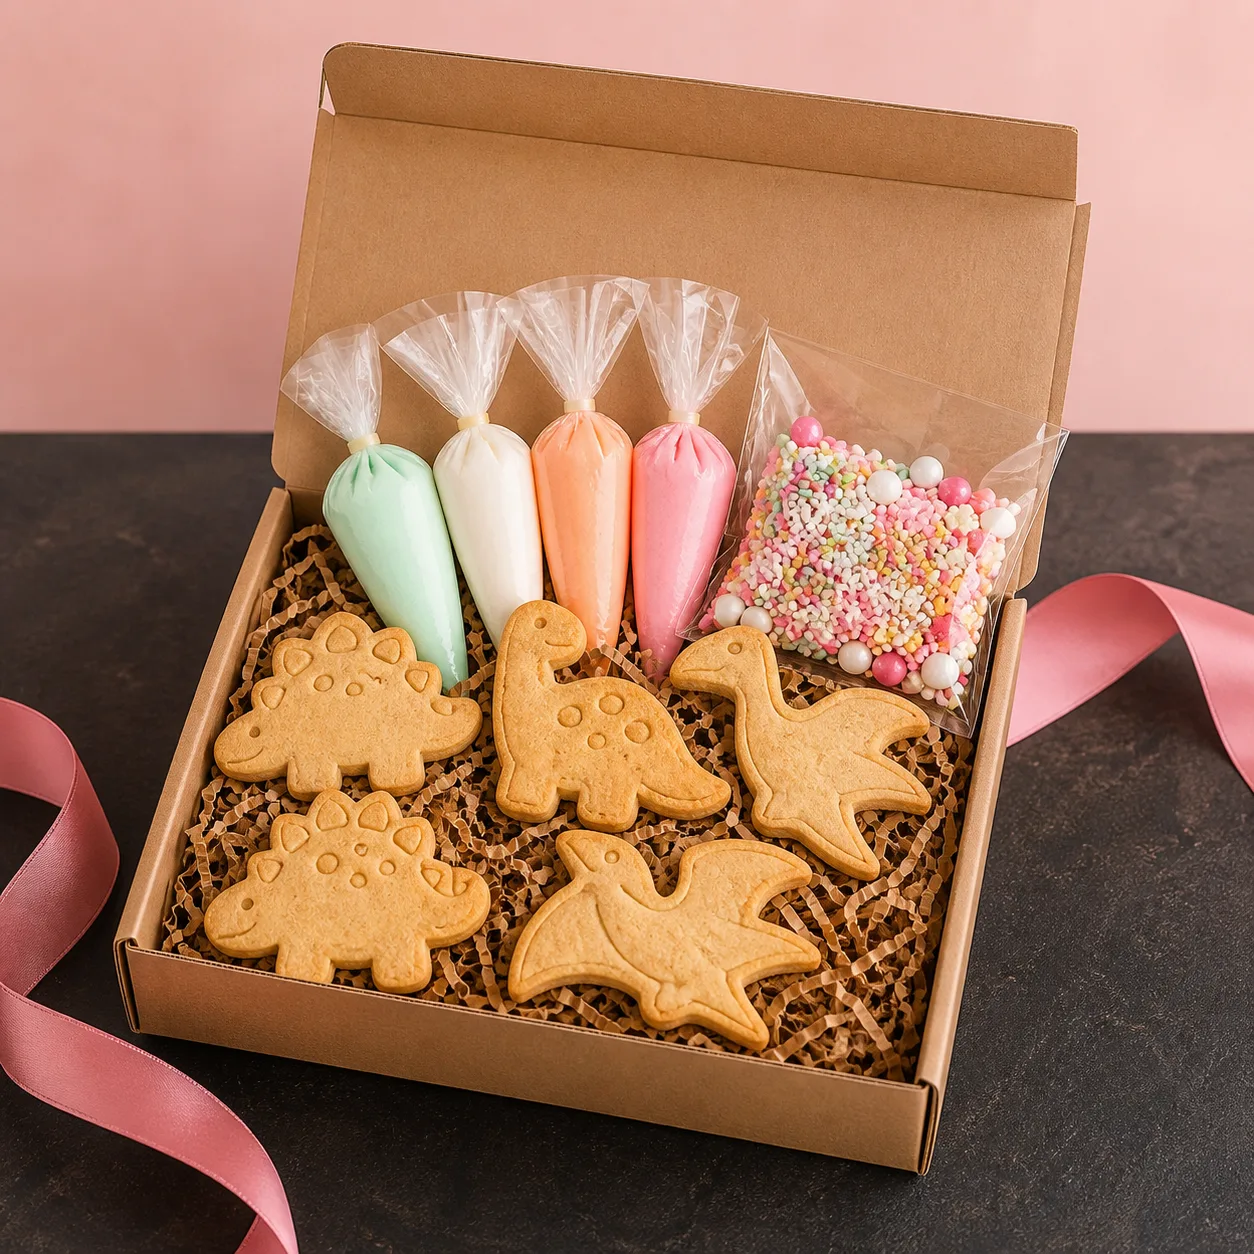
DIY cookie results often carry details unique to each creation: a participant’s chosen colors, icing lines or a shape that becomes part of the event story. Simply prepared photographs help preserve those details before the creations go home.
There is no need to set up a photo studio during the event. A tidy corner, an agreed photo sequence and clear filenames can make the documentation easy to find again.
Prepare one photo location
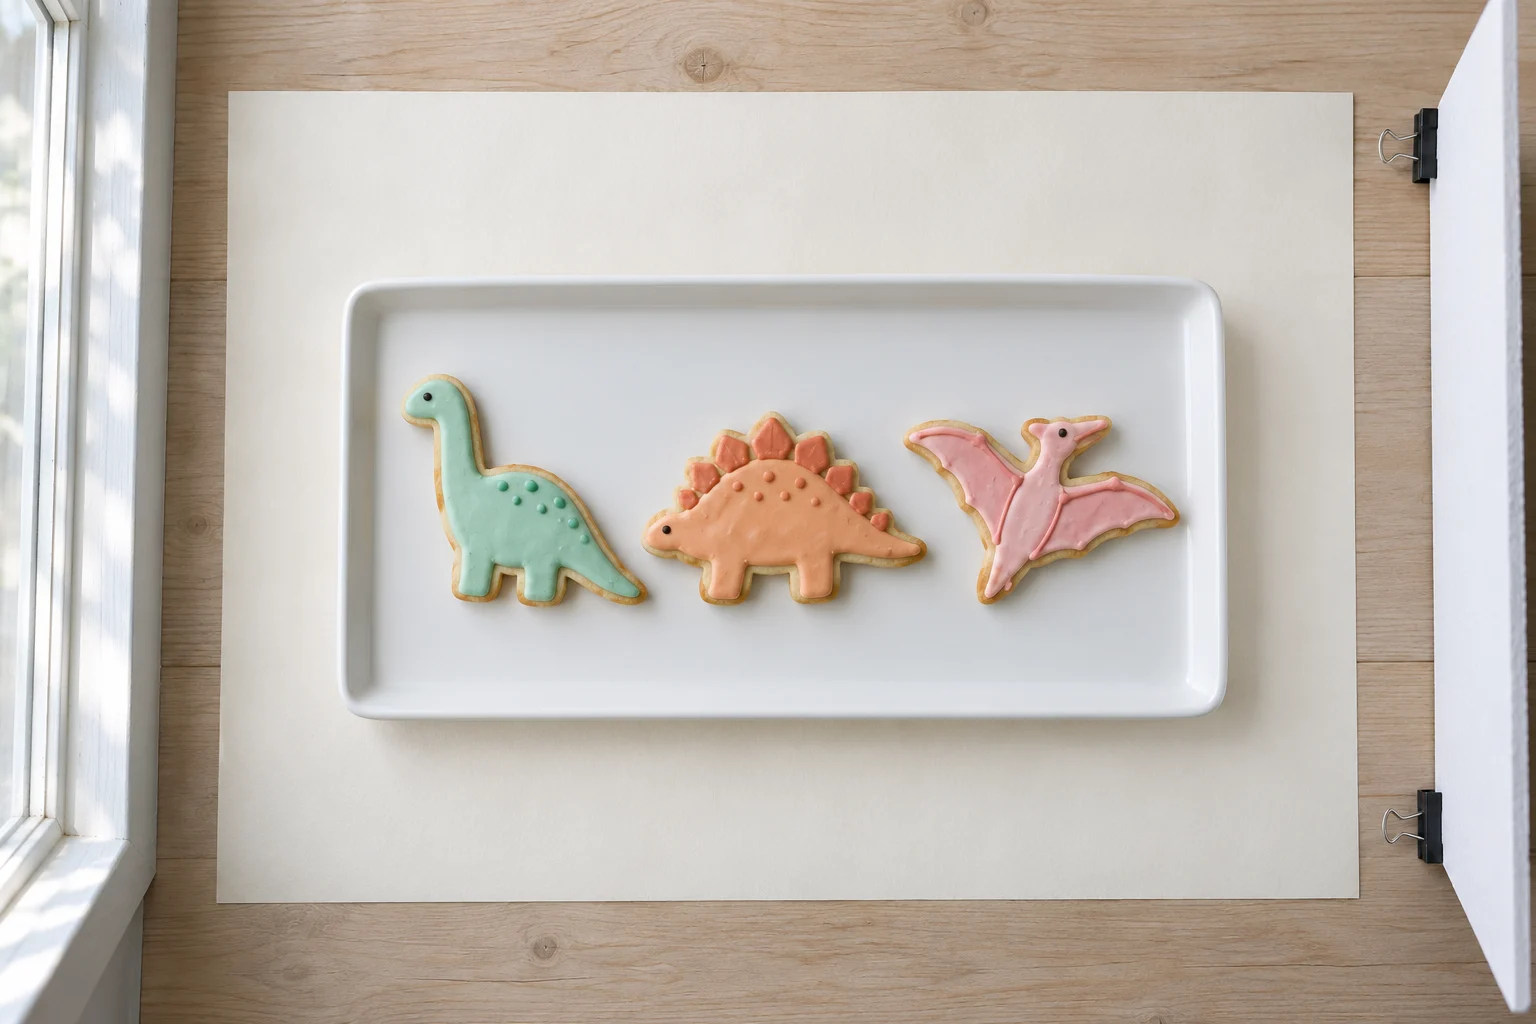
Choose a clean, flat surface and a background that is not too busy. Window light can work when the location fits the event flow. Avoid repeatedly moving cookies just to chase an angle; use a suitable tray or base so creations are easy to place.
Check a sample on your phone screen before participants start finishing. See whether decorations are readable, hand shadows cover the work or unnecessary table areas enter the frame. Keep the same location so photographs of several groups feel consistent.
Capture groups and details
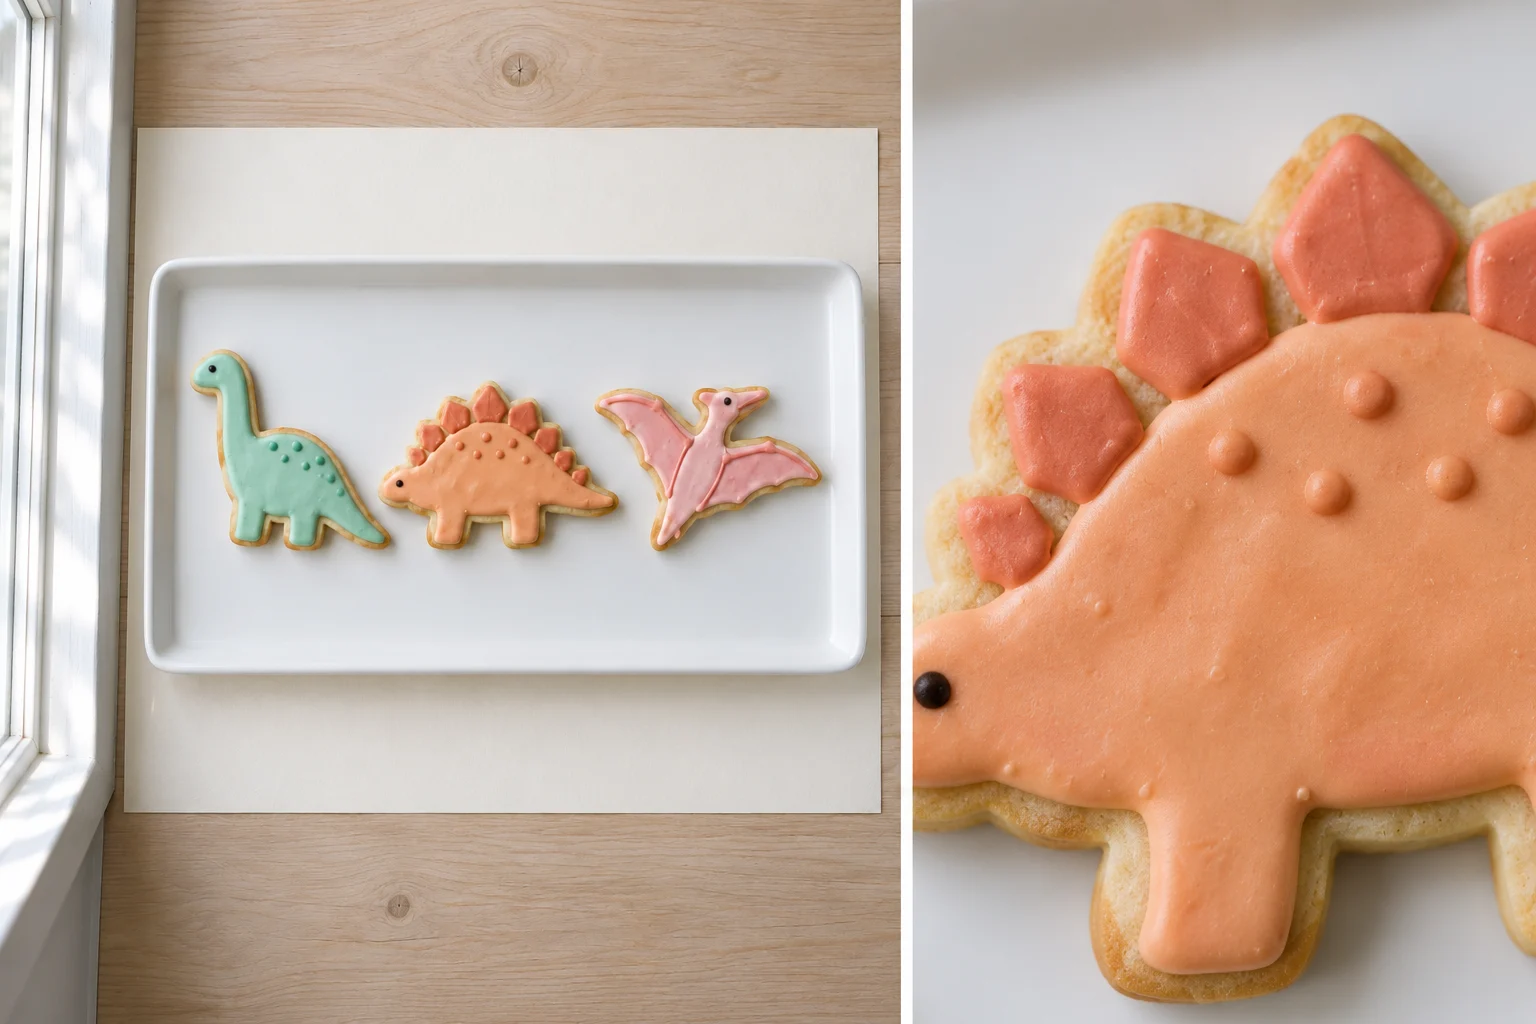
Start with several creations together to show the activity’s results. Then take a closer image of icing details or a shape you want to describe. Not every creation needs many angles; choose photographs that actually show its differences.
If creations use individual bases or boxes, arrange their positions without altering the participant’s decoration. Documentation should record what was made, rather than substitute an arrangement that makes participants unable to recognize their own work.
Use codes to identify creations
For group documentation, table codes or creation numbers can help match photographs to organizer notes. Shared pictures do not need full name lists, phone numbers or other participant details in the frame.
Separate documenting creations from decisions about showing people. If organizers want to retain or share participant photographs, including children, follow the applicable permissions and event rules. Photographing cookies does not mean permission has been obtained to publish their owners’ faces or identities.
Agree on an easy sequence
Decide when photographs will happen, such as after participants declare their creations finished and before packaging under product guidance. Tell accompanying adults so photographed creations do not become mixed with those still waiting.
One person can record creation codes while another takes photographs. For a smaller group, the same organizer can perform those tasks in sequence. Adapt to the participants and adults actually available without interrupting the decorating activity.
Try the sequence with one small table
In a fictional example, participants at one table finish at different times. Staff assign creation references A01, A02 and A03 in an internal record, then photograph each finished creation. The reference supports coordination without needing to appear in the shared photograph. After checking the image, return the creation to its owner and mark the list.
Review one photograph before continuing with the whole group. If shadows hide details or focus is poor, adjust the phone position or photo location. Do not change decorations merely to make every result look alike. Documentation aims to retain participants’ choices, including their different colors and arrangements.
Select photographs ready for sharing
After the activity, separate clear creation photographs from images needing another review. Inspect backgrounds, reflections and picture edges: has a participant list or other information been included? If so, choose another image or prepare a version without that information before sharing under the event’s arrangements.
Staff can select one group photograph and several details representing the activity, then add a simple description of the visible results. Avoid naming the creator when their identity does not need sharing. Review the destination and access of a shared folder so internal archives do not automatically become public material.
Retain the final selections with the event date and a short process note. At the next activity, staff can reuse a workable sequence while adapting it to participant numbers, available assistants and the photo location. Organized documentation makes the activity’s story easy to find without pausing decorating for too long.
Organize files after the event
Store photographs in a folder named for the event and date. Use group codes and sequences such as table-a-01, keeping personal details out of filenames. Select focused images that show creations clearly, then separate versions intended for sharing from the internal archive.
Add a short note on what to try at the next event: a simpler background, a closer photo location or one additional detail image. Documentation notes differ from ingredient arrangements and product storage, which continue to follow information confirmed with the team when ordering.
Explore Sweetalicious DIY kits to prepare a suitable activity. Discuss quantities and product options through custom order, then read the DIY cookie activity guide to connect the photo corner with the wider event.