Celebration guide
A Start-to-Finish DIY Cookie Activity Walkthrough
A practical sequence for setting the table, sharing icing, guiding participants, and packing finished DIY cookies without making the event complicated.

A comfortable DIY session has a clear sequence: tools are open, a sample is visible, and finished cookies dry away from the decorating area.
Create three zones
Use one zone for collecting kits, one for decorating, and one for photos and packing. This keeps participants who are finishing from colliding with those who are just beginning.
Table supplies
- A wipe-clean table cover.
- Small scissors for opening packs.
- Dry and wet wipes.
- Name labels and markers.
- Flat trays for carrying finished work.
Demonstrate one technique
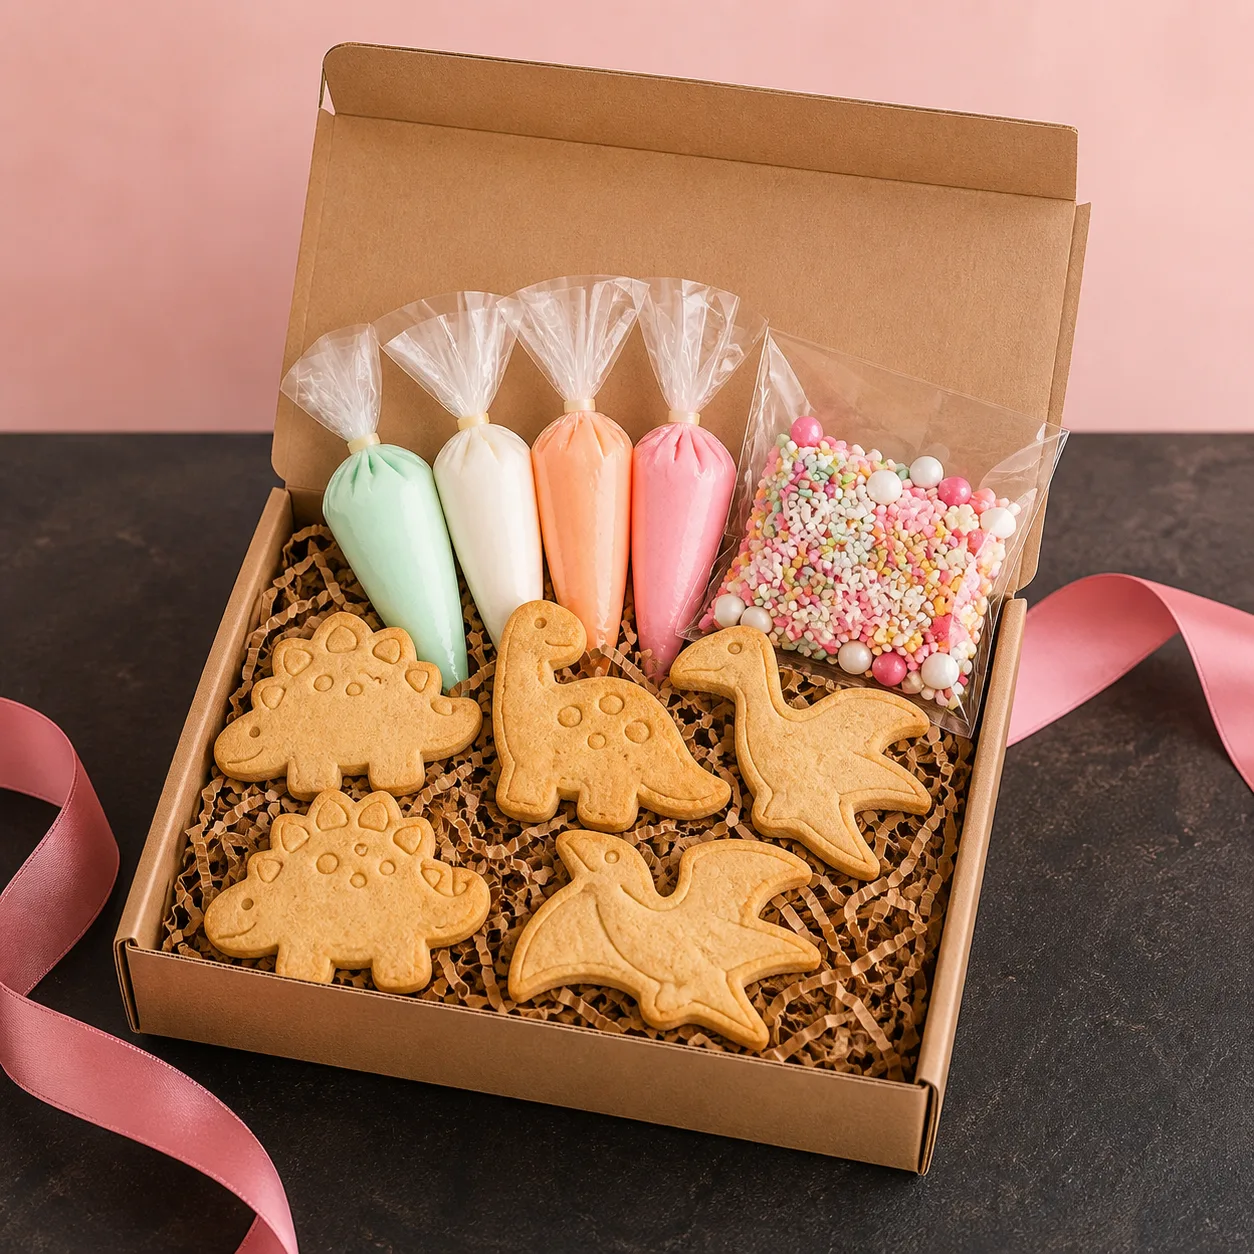
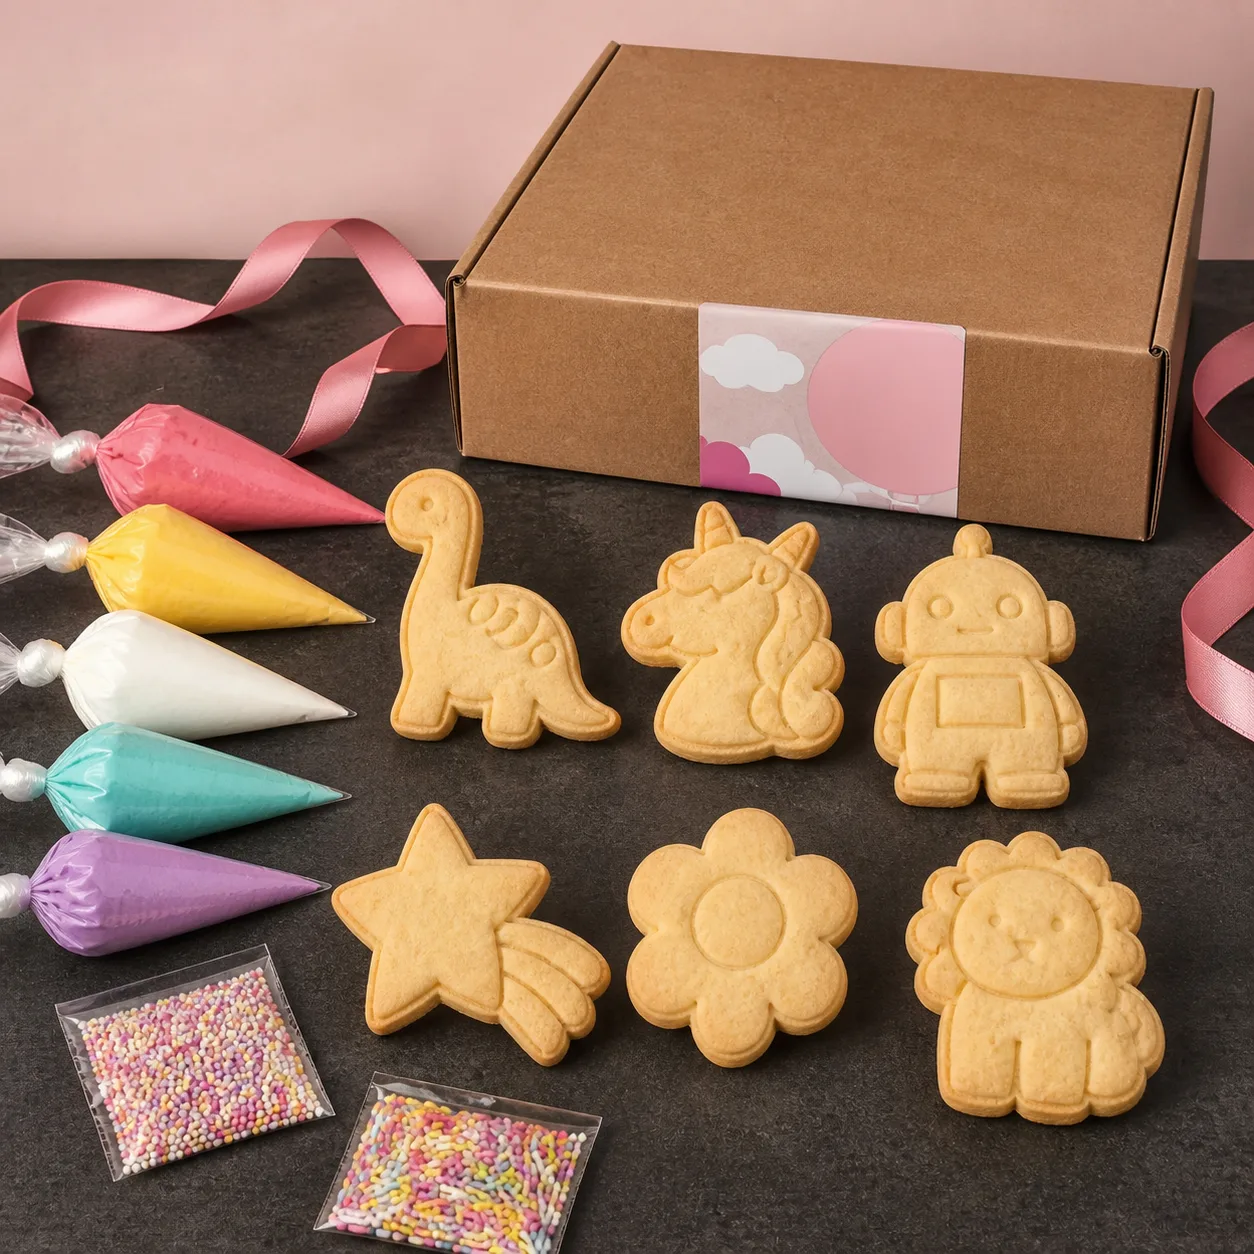
Show how to hold a piping bag and make a simple line. Too many examples can make people hesitate. Let each participant decide the colors, shapes, and story of the cookies.
End with a small ritual
Photograph the finished work together, allow a few minutes for the surface to settle, and pack each set in its labeled box. Everyone leaves with a project that is clearly theirs.
After the event, note which colors ran out first and how long the session actually took. That small record makes the next activity easier to plan.