Celebration guide
Royal Icing and Buttercream: Different Roles before Decorating
Royal icing and buttercream produce different finishes when used to decorate cookies.
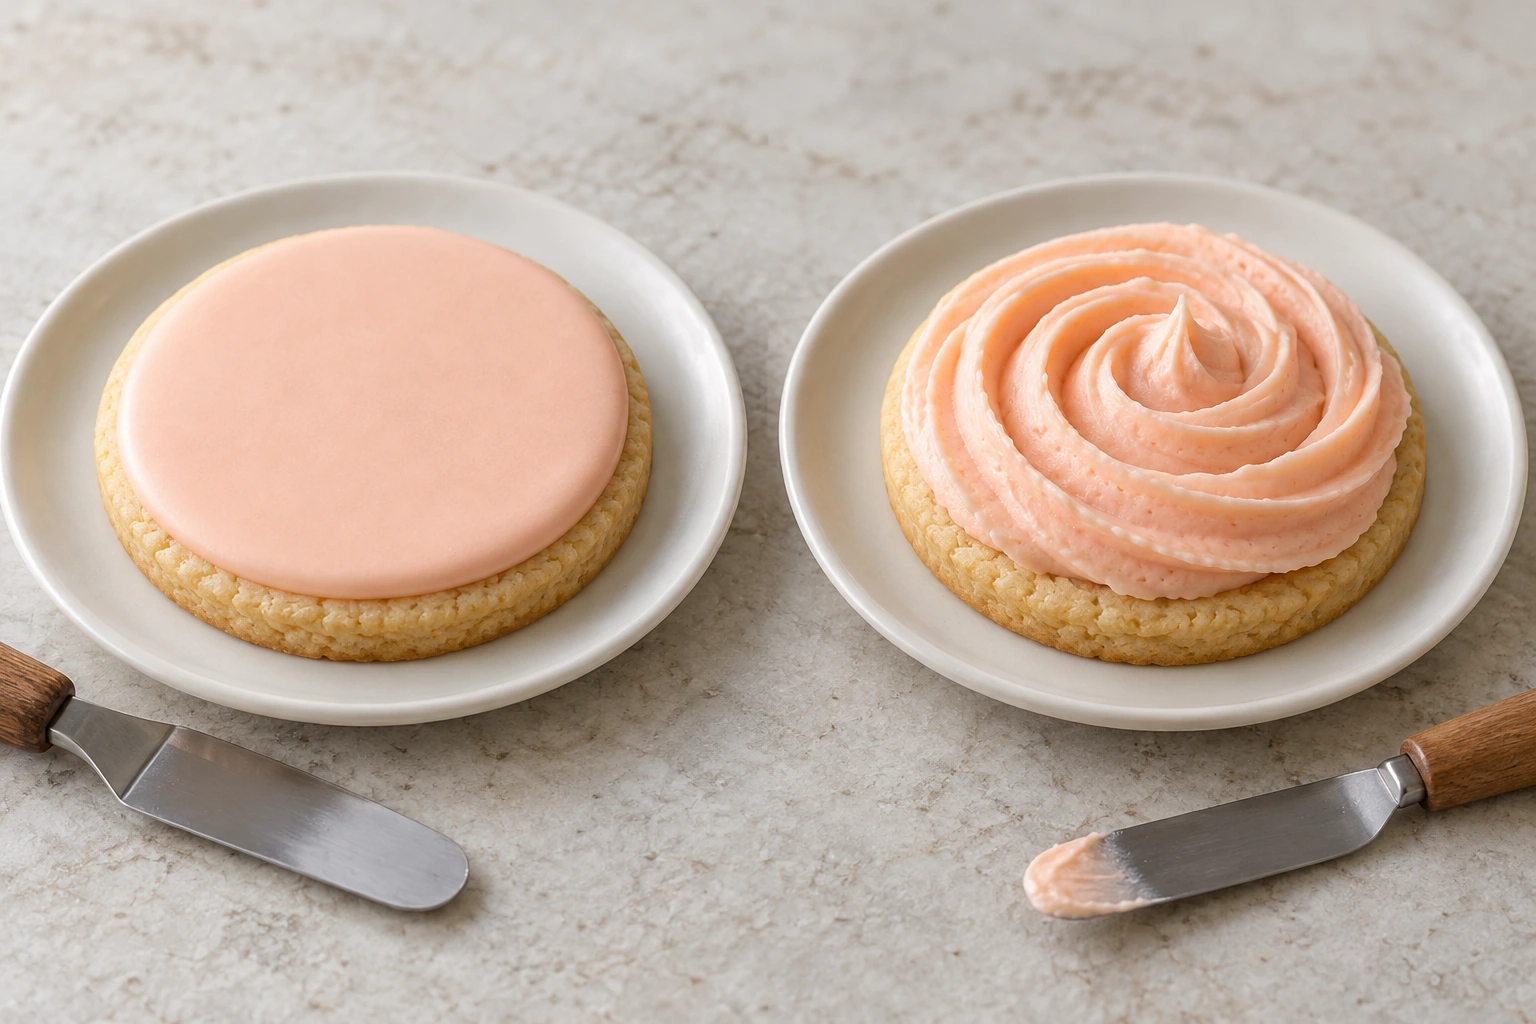
Royal icing and buttercream produce different finishes when used to decorate cookies. Royal icing can dry into a firmer layer, while buttercream generally retains a softer texture. Choose according to appearance, eating plans and handling, then follow the instructions for the actual material being used.
For a DIY activity, colour availability should not be the first question. Ask whether the cookies will be eaten after decorating, displayed for a while or packed to take home. That final use affects the technique, sequence of work and space that needs to be prepared.
Compare the finishes on the same cookie
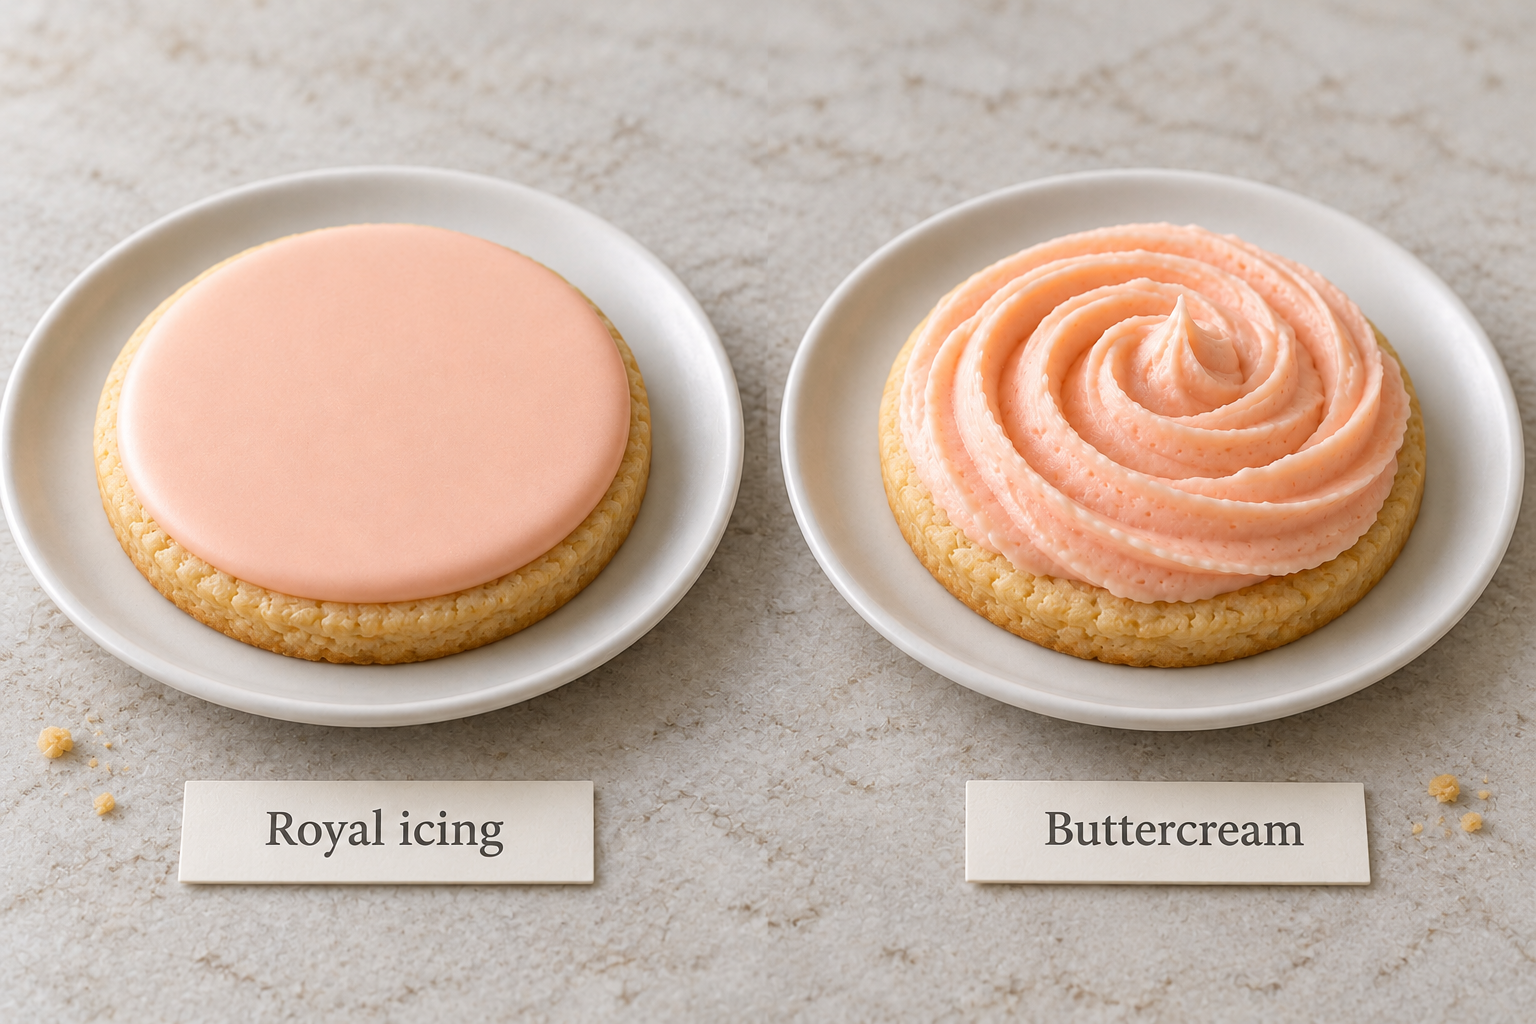
Use two cookies of similar shape and size to understand the comparison. On one, observe royal icing that has reached its intended finished condition according to its instructions. On the other, observe the buttercream texture. Keeping the cookie base and viewpoint consistent makes the material difference easier to read.
King Arthur Baking’s decorating guide distinguishes hard-drying royal icing from a softer frosting similar to buttercream. This explains a useful direction for the choice, rather than establishing identical properties for every recipe.
Notice the flat areas, lines and raised shapes. A smooth-looking photograph does not explain the eating texture or whether the decoration is ready for packing. Establish those needs through the material instructions and an appropriate trial, rather than judging only the colour of the finish.
Connect the material with the decoration plan
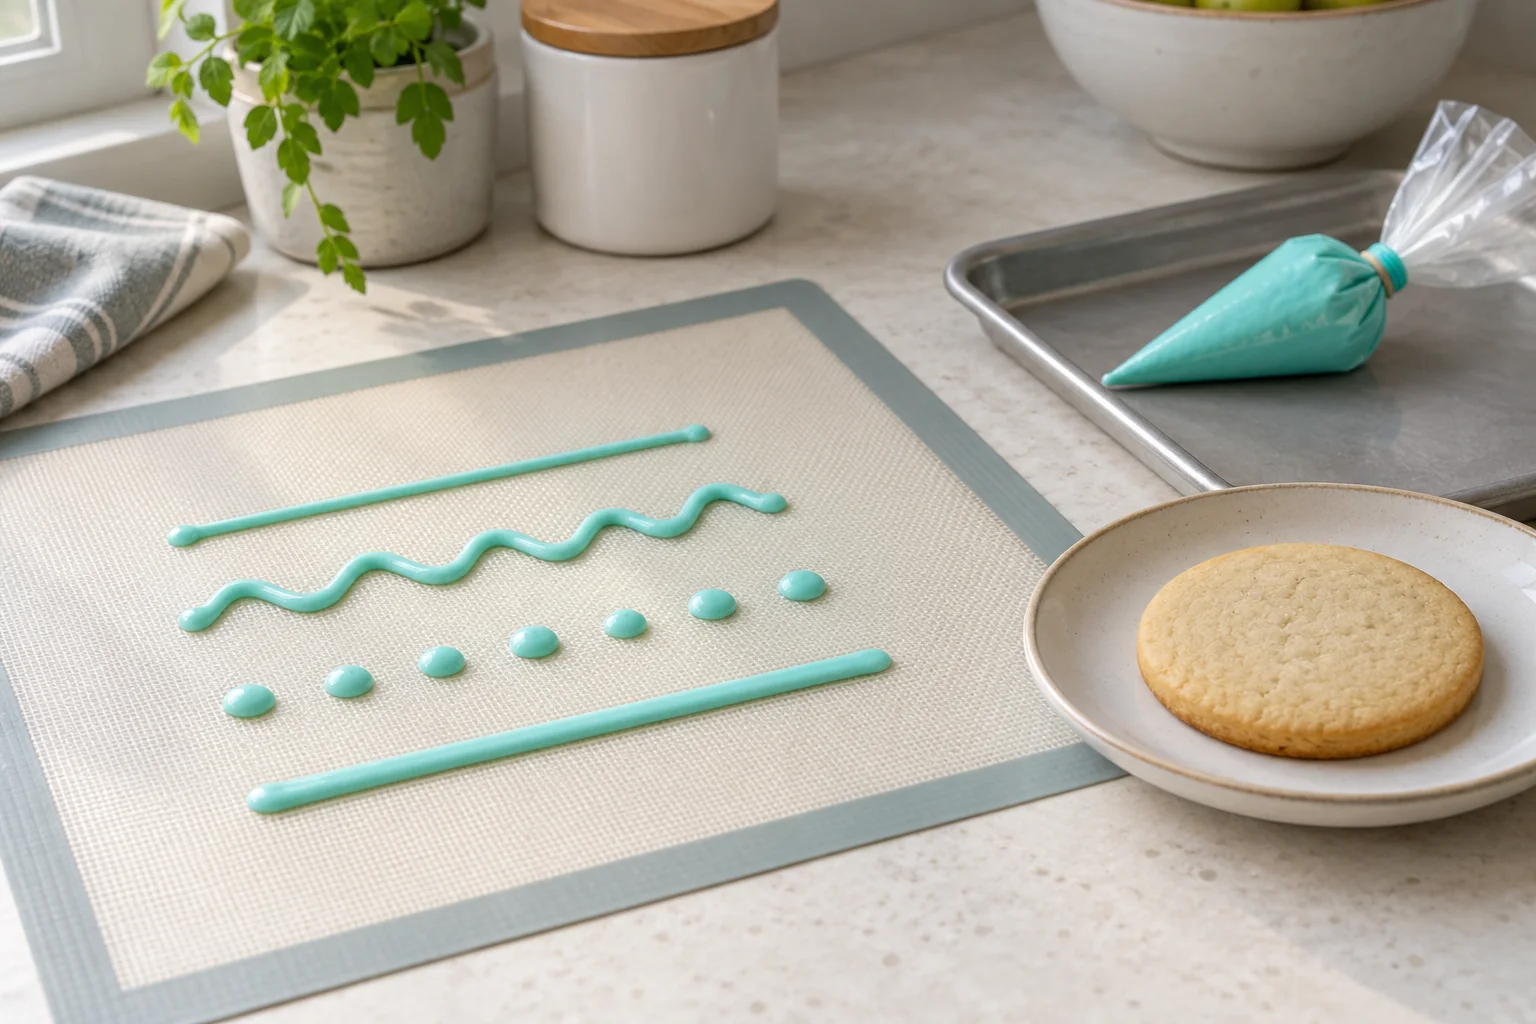
If the aim is clear outlines and filled colour areas, ask whether the material and consistency suit those jobs. Royal icing used for an outline is not necessarily prepared in the same way as icing used to fill an area. The material name alone does not describe how to use it.
For soft shapes made with a piping nozzle or a spread layer, buttercream may be an option to discuss. Consider decoration height and the space inside the package. A shape that works on the table still needs appropriate handling when it is moved or carried elsewhere.
Do not add water or another ingredient simply to imitate a movement seen in a video. First check the product and its instructions. During a group activity, clear guidance for one material is easier to follow than several recipes combined without explanation.
Separate finished decorating from readiness to pack
A completed design does not mean every part is ready to be touched. King Arthur Baking’s royal-icing recipe explains that the coating needs time to dry. A duration from one recipe is not a universal promise for all thicknesses, materials or room conditions.
Provide a place where finished cookies can rest without stacking or losing their owner identification. At an event, decide who moves the work and when participants collect it. This matters particularly when another session follows or the table must soon be used for a different activity.
For a decoration that stays soft, discuss packaging with enough space to prevent pressure on its surface. The material choice is linked to container shape and carrying arrangements. A lid is not sufficient protection if that lid presses directly against the decoration.
Try a small sample before the activity
Test a simple design with the materials and tools that will actually be used. Choose an outline, filled area or piped shape that matches the goal. Note which part is difficult to follow and how the finished cookie is handled, rather than only timing how quickly a design can be made.
For example, one group may want to decorate and enjoy the cookies at the venue. Another needs to carry its work home in boxes. Both could use the same colour theme while having different transfer and packing requirements. Discuss those differences before selecting a material based on an attractive example.
| Requirement | What to confirm |
|---|---|
| Appearance | Desired filled areas, lines or raised shapes |
| Eating plan | Immediate use or an appropriate waiting period |
| Moving the work | Who handles it and where it rests |
| Packaging | Clearance for decoration height and surface condition |
| Material instructions | Actual use, storage and ingredient information |
Explain the complete need when choosing a kit
When discussing DIY cookies with Sweetalicious, provide the participant count, theme, date and take-home plan. Confirm the materials included in the selected kit and their instructions. Do not assume that every package uses one formula or requires the same handling.
Check ingredient information and participant requirements before the activity. A material selected for a visual purpose must still suit the people using it. Clarify missing information before distributing materials at the table, while any necessary changes can still be planned.
If the design also includes a printed image, read the comparison of icing paper and wafer paper. The word icing in a paper name does not make it the same material as royal icing. Discussing coating, print and packaging as separate elements makes the cookie plan easier to carry out.