Celebration guide
Edible Prints for Cupcakes: Planning Diameter and Image Count
Measure a cupcake's flat area and calculate edible-print layouts with image diameter and gaps, using a 20 × 27 cm example.
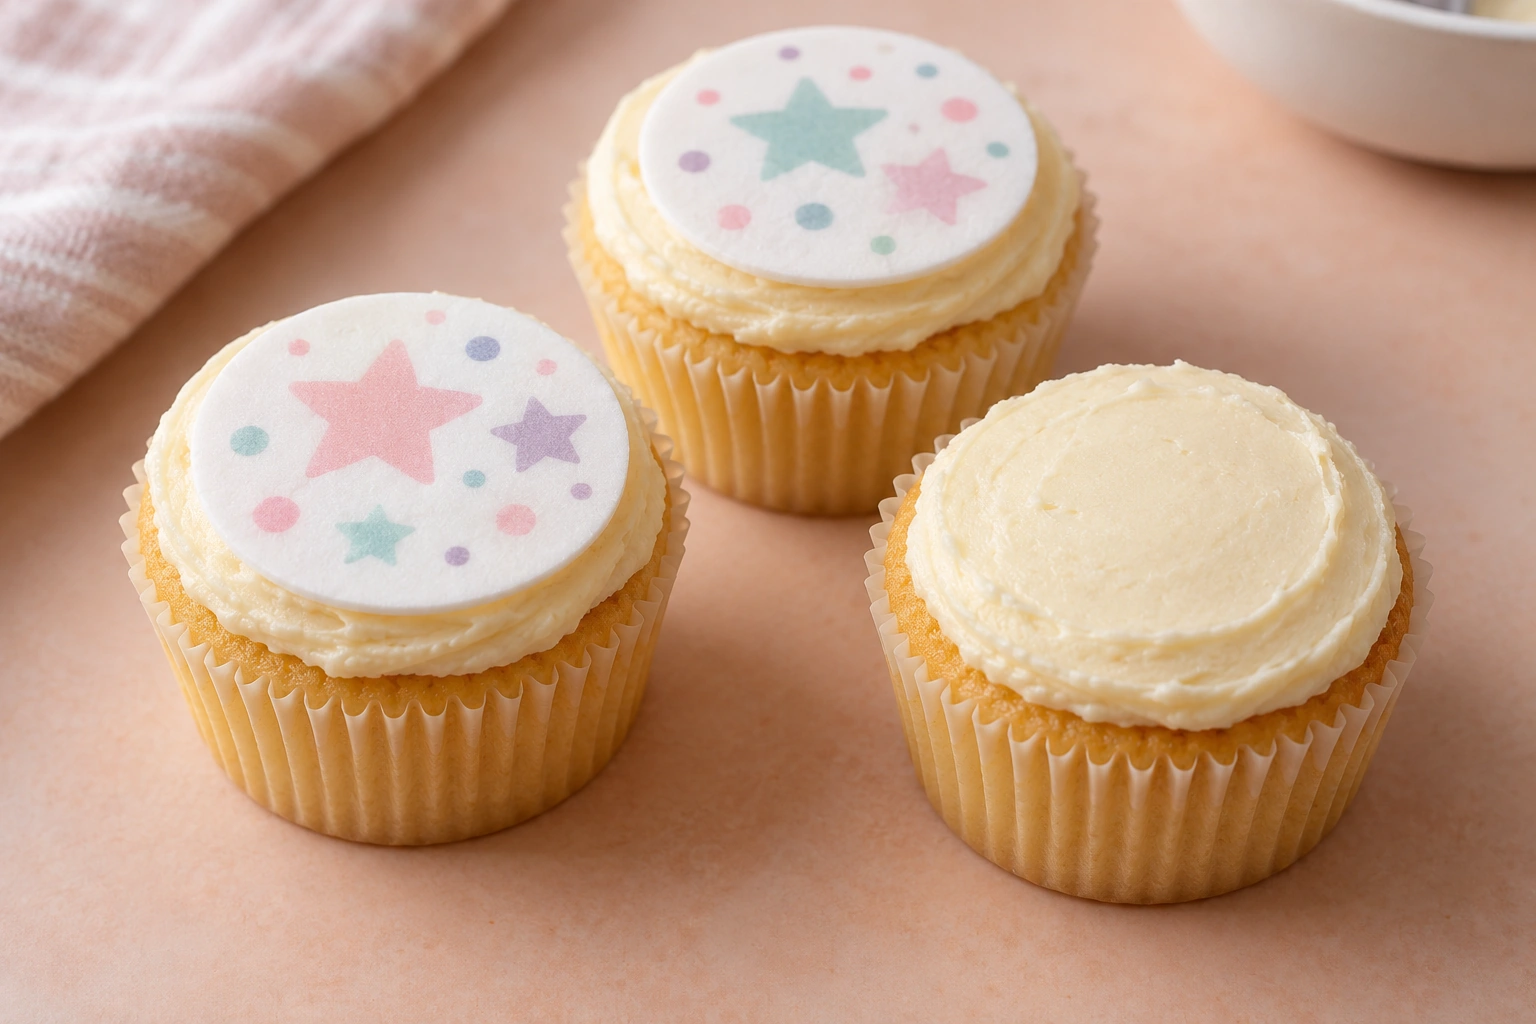
The edible-print size for a cupcake should follow the area where the image will sit, rather than the cup diameter alone. Once the image diameter is chosen, calculate the sheet layout from the confirmed printable area and the gap between images. Complete both steps before arranging the artwork.
The example below uses 4 cm circles, a 0.5 cm gap and a 20 × 27 cm image area. These are layout-exercise values rather than a guaranteed yield for every order. Image shape, cutting space and the actual printable area need confirmation before printing.
Measure the flat area of the frosting
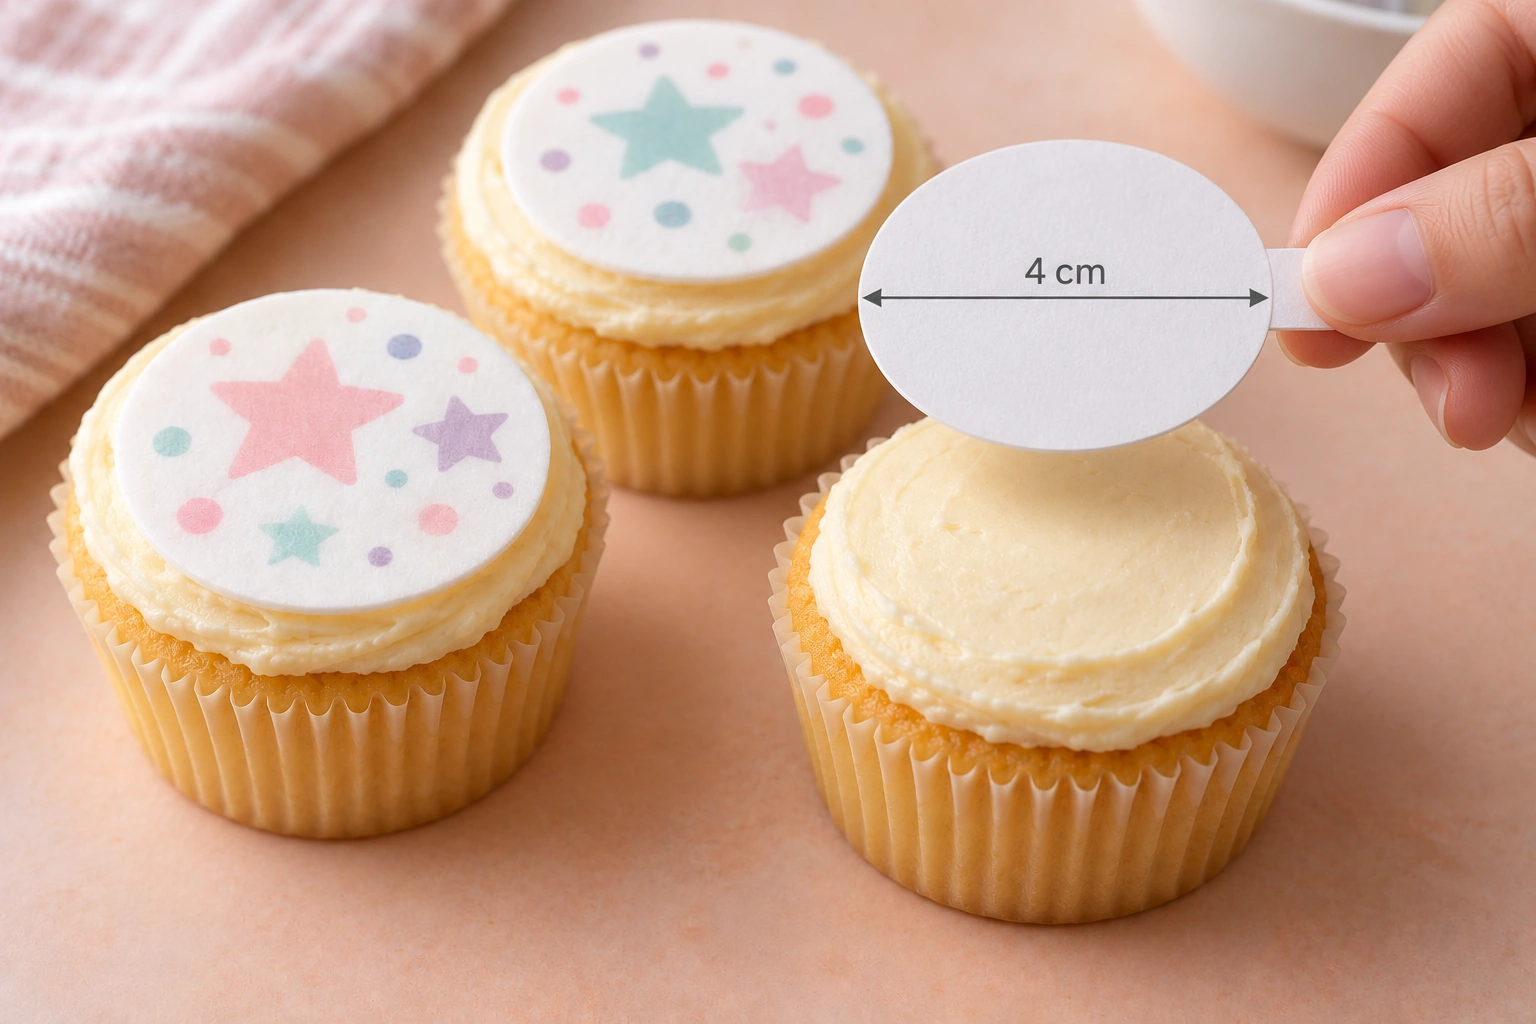
Look at the cupcake surface that will actually receive the image. The paper cup may have a wider or differently shaped diameter than the flat frosting area. Use a sample cupcake or measurements agreed with its maker instead of estimating from a photograph.
Measure the usable flat section without forcing the image around curves or tall decorations. If the frosting includes peaks, flowers or other elements, discuss the print’s position first. Do not assume the entire upper surface can receive one large circle.
Choose the artwork diameter after establishing that area. Make a plain-paper circle to assess the visual scale without bringing unsuitable materials into contact with food. Confirm the size with the cupcake maker before laying out a whole sheet.
Use the correct image-area dimensions
Sweetalicious’s Edible Image Printing description lists its A4 option as a 21 × 28 cm sheet with an image area of approximately 20 × 27 cm. Its half-A4 option uses a 14 × 21 cm sheet with approximately 13 × 20 cm for images.
Calculate from the confirmed image area rather than the entire paper size. Do not fill artwork to the physical edge merely because the sheet is larger. Explain any additional margin or cutting-space requirement too.
If the provider confirms different dimensions for a particular job, use those and calculate again. An option name alone does not establish image quantity. Keep measurements in consistent units so centimetres and millimetres are not mixed.
Count the layout with space between images
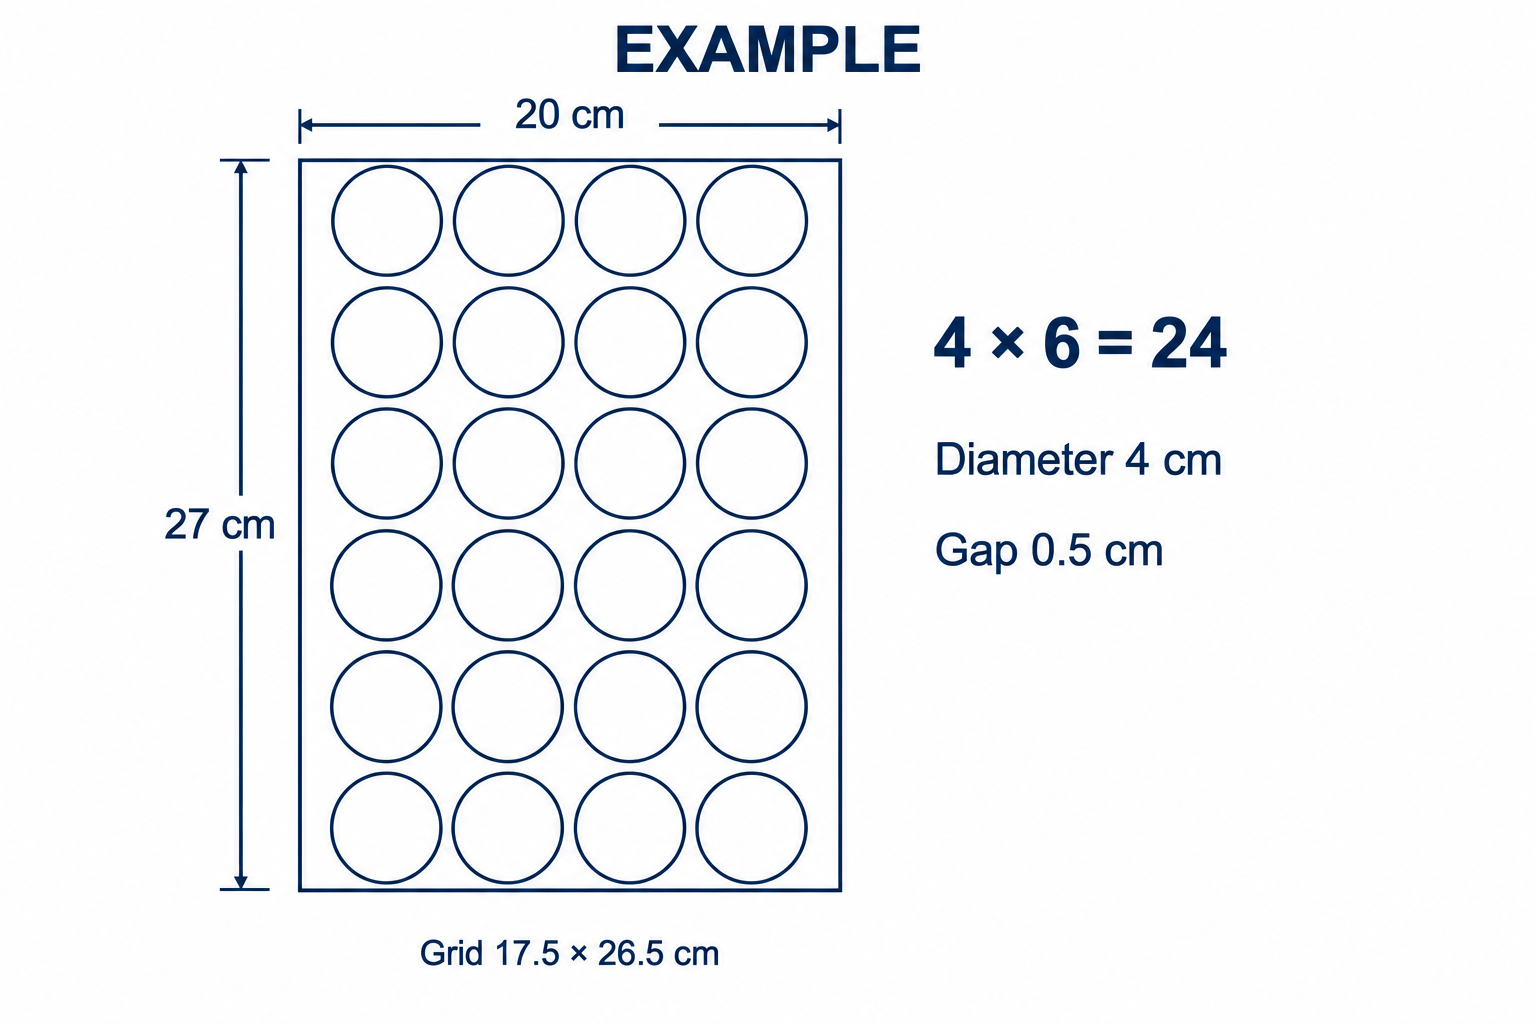
For a simple grid, calculate circles along one direction using the available length, image diameter and gap. Add one gap to the available length, divide by diameter plus gap and round down.
For a 20 cm width, 4 cm diameter and 0.5 cm gap, dividing 20.5 by 4.5 gives four complete columns. For the 27 cm height, dividing 27.5 by 4.5 gives six complete rows. The arrangement contains 4 × 6 = 24 images.
Check the occupied dimensions too. Four circles and three gaps require 17.5 cm; six circles and five gaps require 26.5 cm. Both fit within the example area. This is the chosen grid calculation, not a claim about maximum packing for every possible shape.
Separate cupcake needs from sheet yield
If a fictional requirement is 30 images and the approved layout contains 24, one sheet is insufficient. Two identical sheets provide 48 positions. The final order still depends on available service options and actual requirements, rather than multiplication alone.
Do not add a fixed spare percentage without a reason. Ask whether a trial application, replacement for damage or uncertain attendance creates an additional requirement. Separate the main quantity from extras so the decision is understandable.
For several names or designs, prepare the quantity of each before arranging the sheet. A total of 24 positions is unhelpful if one name appears too often and another is missing. Compare the list against each sheet preview.
Keep artwork readable when reduced
Place important elements inside the intended cut boundary. Text, faces or logos too close to the edge can be affected by a slight cutting shift. Confirm any safe-area requirements appropriate to the process.
Review the artwork at 4 cm if that is the selected diameter. Small text readable on a full screen may not remain comfortable at final size. Remove unnecessary elements and use a short message where the area is limited.
Sweetalicious’s service description requests a high-resolution JPG and distinguishes simple preparation from advanced editing. Provide the file, size, quantity and requested changes before approving the order. Do not assume a layout includes every design task or a cutting service.
Confirm one preview as the reference
Before printing, match the diameter, image area, gap, quantity of each design and orientation. The preview should have an explainable scale. A small image in a message does not by itself establish its print dimensions.
Read preparing edible-print artwork for file considerations. When discussing the order with Sweetalicious, bring the measured cupcake area and required quantity. A shared reference turns “how many will fit?” from a guess into a layout that can be calculated and confirmed.